
Impress your friends with epic coffee art designs in their lattes!
Coffee art is not only a delightful addition to your morning ritual, but it’s also a creative way to showcase your barista skills and impress your friends. With a little practice and the right techniques, you can create stunning designs on the surface of your lattes, turning them into beautiful works of art. In this comprehensive guide, we will take you through the step-by-step process of mastering the art of coffee and creating mesmerizing coffee art at home.
Understanding the Magic of Coffee Art
Coffee art, also known as latte art, is the process of creating intricate designs on the foam surface of espresso drinks. It requires skillful steaming of milk to produce the perfect microfoam, which acts as the canvas for your artistic creations. Achieving the right texture and consistency of the steamed milk, often referred to as microfoam, is crucial in creating stunning coffee art.
To embark on your coffee art journey, you will need an espresso machine with a steaming wand. This will allow you to achieve the necessary microfoam, which is difficult to attain with other milk frothing methods. Investing in a quality espresso machine, such as the Breville espresso machine, will provide you with the tools you need to create exceptional coffee art.
The Milk: A Crucial Ingredient
Before diving into the artistry of coffee, it’s essential to understand the role of milk in creating the perfect canvas for your designs. Whole milk is the preferred choice for coffee art due to its higher fat content, which aids in achieving the desired texture and consistency. Whole milk creates a creamy, velvety microfoam that allows for intricate designs.
For those who prefer a dairy-free alternative, oat milk is the best option. While it doesn’t produce the same quality of microfoam as whole milk, it froths better than other non-dairy alternatives. However, it’s important to note that the texture and quality of the foam may not be as ideal as with whole milk. Freshness is key when it comes to milk. To ensure optimal results, use milk that is as fresh as possible, as milk closer to its expiration date may not foam as well.
The Steaming Process: Achieving the Perfect Microfoam
The secret to creating exceptional coffee art lies in achieving the perfect microfoam. This entails steaming the milk to a precise temperature and texture. Follow these steps to master the steaming process:
- Chill a metal steam pitcher in the refrigerator for at least 30 minutes before steaming the milk. This helps create a longer steaming time, allowing for better control over the texture.
- Fill the pitcher with cold milk, leaving enough room for expansion. For a 12-ounce pitcher, pour in approximately 10 ounces of milk.
- Position the steam wand diagonally towards the back of the pitcher, near the handle. This angle allows for better control during the steaming process.
- Turn on the steam wand to purge any milk residue and ensure a clean steam.
- Lower the steam wand into the milk, positioning it about an inch below the surface.
- Slowly raise the steam wand to create a swirling motion in the milk. This helps incorporate air and create the desired texture.
- Pay close attention to the temperature of the milk. Use a thermometer attached to the side of the pitcher to monitor it. The ideal temperature for steamed milk is around 150 degrees Fahrenheit.
- Once the milk reaches the desired temperature, turn off the steam wand and remove it from the pitcher.
- Tap the pitcher on the counter to remove any large bubbles and swirl it gently to incorporate any remaining bubbles into the milk.
Pouring Techniques: Unleashing Your Creativity
Now that you have achieved the perfect microfoam, it's time to unleash your creativity and transform your latte into a work of art. Here are some pouring techniques to help you get started:
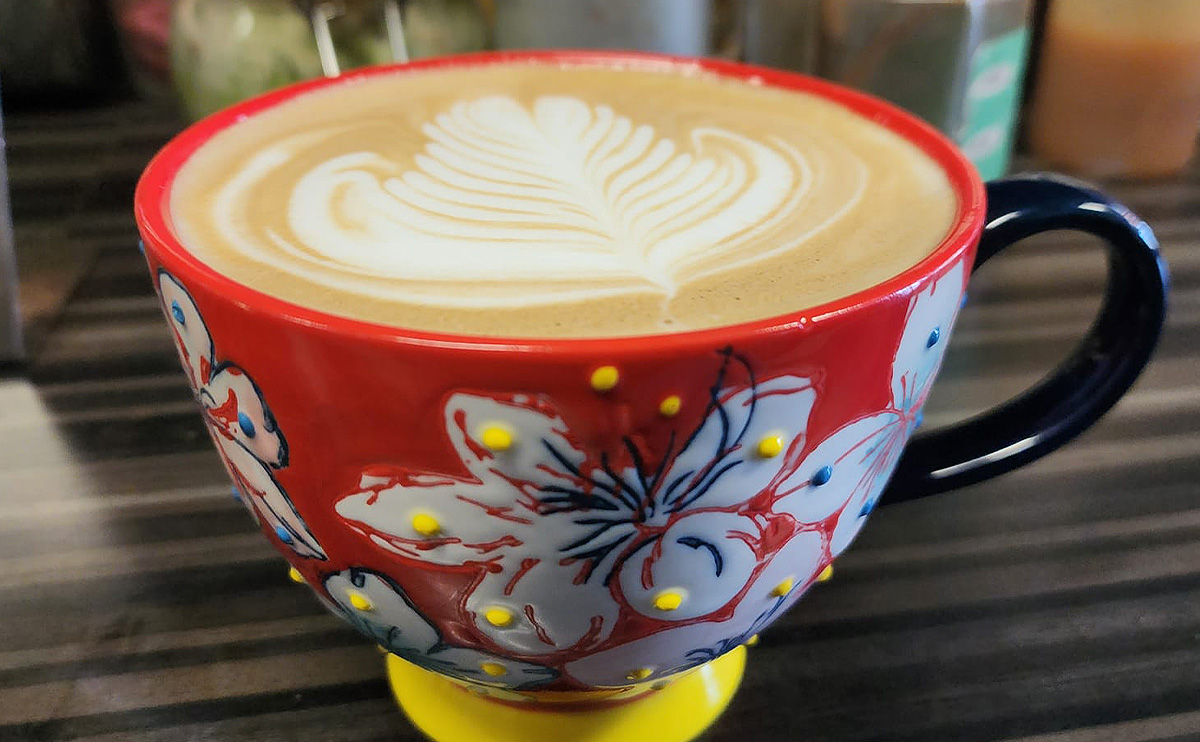
The Heart Design
The heart design is a classic and relatively simple design to master. Follow these steps to create a heart-shaped coffee art:
- Fill your espresso cup halfway with the espresso shot.
- Hold the cup at a 45-degree angle and begin pouring the steamed milk into the center of the cup, while simultaneously moving the pitcher from side to side.
- As the milk fills the cup, continue pouring in a steady stream while creating a back-and-forth motion with the pitcher.
- Once the cup is almost full, raise the pitcher slightly and pour a thin line of milk through the center of the heart to create the stem.
The Tulip Design
The tulip design is a more intricate design that will impress your friends and elevate your coffee art skills. Here’s how to create a stunning tulip design:
- Start by pouring the steamed milk into the center of the espresso cup, filling it about halfway.
- While pouring, gently wiggle the pitcher from side to side to create a zig-zag pattern.
- As the cup fills, raise the pitcher slightly and pour a thin line of milk through the center of the zig-zag pattern.
- Continue pouring until the cup is almost full, then lift the pitcher and create a line through the center to form the stem of the tulip.
Experimenting with Other Designs
Once you have mastered the heart and tulip designs, feel free to experiment with other designs and patterns. Use toothpicks or skewers to drag through the foam and create unique patterns or write words in the foam. You can also use stencils to sprinkle cocoa powder or cinnamon over the foam and create intricate designs. Let your creativity run wild and have fun exploring different techniques and designs.
Perfecting Your Technique: Practice Makes Perfect
Coffee art requires practice and patience to achieve mastery. Don't be discouraged if your first attempts don't turn out as expected. Remember, even professional baristas had to start somewhere. Here are some tips to help you perfect your coffee art technique:
- Watch tutorial videos: There are numerous tutorial videos available online that demonstrate different pouring techniques and designs. Watch these videos to gain inspiration and learn from experts in the field.
- Take a barista class: Consider taking a barista class to learn the art of coffee from professionals. In-person classes provide valuable feedback and guidance, allowing you to refine your technique.
- Experiment with different milk types: While whole milk is the preferred choice for coffee art, feel free to experiment with other milk types to achieve different textures and flavors. Oat milk, almond milk, and soy milk can all be used to create unique variations of coffee art.
- Practice regularly: Set aside dedicated time each week to practice your coffee art skills. The more you practice, the better you will become. Remember, practice makes perfect.
- Share your creations: Don't forget to share your coffee art creations with friends and family. Not only will they be impressed by your artistic skills, but it also provides an opportunity to receive feedback and encouragement.
The Joy of Coffee Art: A Delightful Addition to Your Morning Routine
Coffee art adds a touch of elegance and creativity to your morning routine. With the right techniques and a bit of practice, you can transform your lattes into stunning works of art. Whether you choose to create a simple heart design or venture into more intricate patterns, the joy of coffee art lies in the process of creating something beautiful and sharing it with others. So grab your favorite mug, fire up your espresso machine, and let your creativity flow as you embark on your coffee art journey.
TIME FOR A PICK-ME-UPPER?
ORDER YOUR FAVORITE DRINK ONLINE!
We have a drink for everyone. Stop by your local Kay Rico Coffee shop and enjoy a rich and smooth cup of joe.
- Air-roasted coffee beans imported from Colombia
- Relaxing atmosphere
- Delicious sandwiches, platters and Pizzas!